
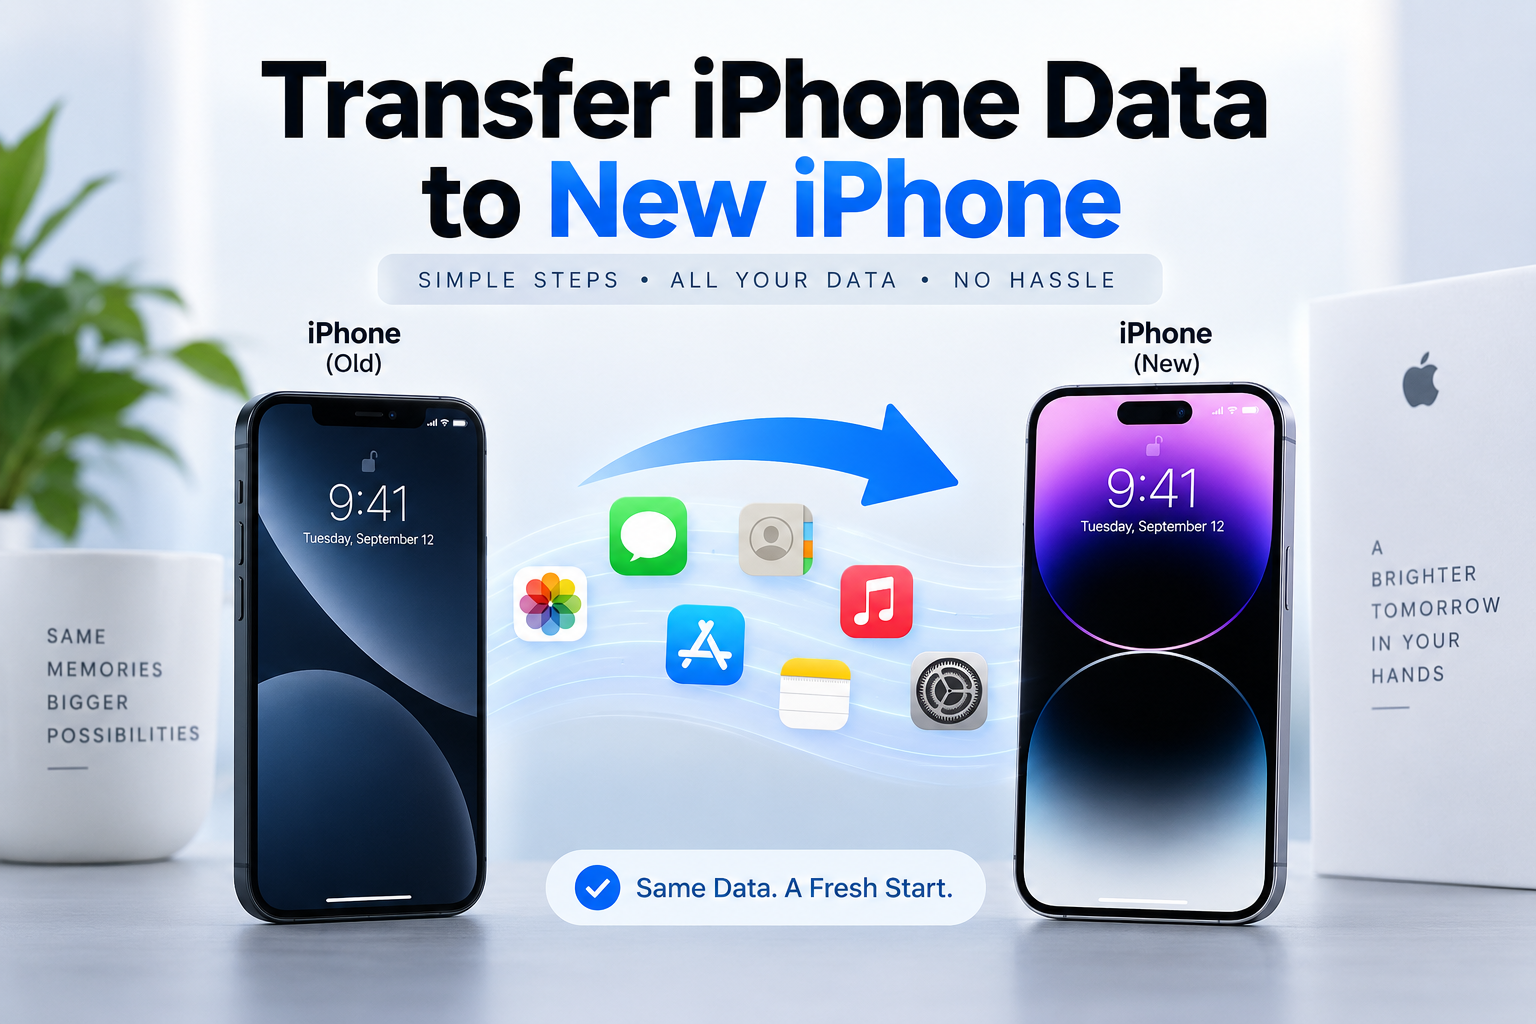
Learn how to Transfer iPhone Data to New iPhone safely and easily. Follow these simple methods to move photos, apps, contacts, and other data
Transferring iPhone data to a new iPhone should feel simple, and usually it does once you know which path fits your setup. The fastest option depends on what you have nearby: your old phone, a solid Wi‑Fi connection, a cable, and enough storage on the new device.
How to transfer iPhone data to a new iPhone
Transferring iPhone data to a new iPhone,There are three reliable ways to move your stuff over: Quick Start, iCloud backup and restore, or a computer backup with Finder or iTunes. For most people, Quick Start is the cleanest choice because it moves your data while both phones are side by side, almost like handing off a packed suitcase instead of unpacking every item one by one.
The right method depends on your situation. If your old iPhone is right there and still works, Quick Start is usually the easiest. If the old phone is lost, broken, or already wiped, an iCloud or computer backup is the safer route.
What “transferring data” actually means -(Transfer iPhone Data to New iPhone)
Transferring data means copying the stuff that makes your iPhone feel like yours. That includes apps, photos, messages, contacts, settings, saved passwords, and app data, so your new phone does not feel like a blank slate.
A few things are more stubborn. Apple Pay cards usually need to be added again, and some apps ask you to sign in from scratch for security reasons. That part is normal, not a sign that the transfer failed.
What usually transfers automatically
Most of the everyday stuff comes across without drama. Your photos, contacts, text messages, calendars, notes, Safari data, app layout, and many account settings usually show up on the new iPhone after the transfer finishes.
Saved Wi‑Fi networks and many passwords often come along too, especially if you use an encrypted backup or Quick Start. That is what makes the new phone start feeling familiar so quickly.
What may need a separate step to Transfer iPhone Data to New iPhone
A few items tend to lag behind or require extra attention. Two-factor authentication codes, some banking apps, work apps, and streaming subscriptions may need a fresh login or verification.
Health and payment data can also be picky. If you use Apple Pay, cards usually need to be re-added, and some secure apps want a second approval before they trust the new device.
Before you start: quick checks that save you time
To Transferring iPhone data to a new iPhone A few minutes of prep can save you from a long, annoying setup session. Charge both iPhones, connect to Wi‑Fi, and make sure you know your Apple ID password before you begin.
The old phone should have enough battery to last through the transfer, or be plugged in. If it dies halfway through, the process slows down and sometimes gets messy.
Update both iPhones
Updating both devices first is worth it. Newer iOS versions tend to make Quick Start smoother and reduce weird setup errors that pop up when one phone is running old software.
You do not need to chase every minor update forever. Just get both phones reasonably current before moving your data.
Free up space if needed to Transfer iPhone Data to New iPhone
If your new iPhone has less storage than your old one, the transfer can hit a wall. That is especially common when the old phone is full of photos, videos, downloads, and offline music.
Trim the obvious heavy stuff before starting. A smaller phone cannot magically hold more than its capacity, no matter how nicely you ask.
The fastest way: use quick start to Transfer iPhone Data to New iPhone
Quick Start is the easiest way to move data from one iPhone to another when both devices are nearby. It is the method most people should try first, because it keeps everything in one flow instead of making you build a backup and restore it later.
Think of it like moving furniture from one room to another with both doors open. Less lifting. Less waiting around.
Set up the new iPhone next to the old one for Transfer iPhone Data to New iPhone
Turn on the new iPhone and place it near the old one. A setup prompt should appear on the old device, and the new phone will show an animation that you scan with the camera.
After that, follow the on-screen steps to enter your passcode and set up Face ID or Touch ID. Once the phones pair, the transfer begins and your data starts moving over.
Choose whether to transfer wirelessly or with a cable
Wireless transfer is the simplest option. It is convenient, and for smaller libraries it works just fine.
A wired transfer is usually faster and more stable, especially if you have a lot of photos or videos. Apple notes that a cable can help when you want a more direct, reliable transfer, and that tracks with real-world use too.
When a wired transfer makes sense
Use a cable if your Wi‑Fi is slow, your photo library is huge, or you do not want the transfer depending on a flaky connection. Wired transfers are boring in the best way, because boring usually means finished without drama.
Let the transfer finish before you use the phone
Keep both iPhones close together and plugged in if possible. Interrupting the process can slow things down or leave some apps and media still downloading in the background.
The phone may be usable before everything is fully done, but patience pays off here. Give it time to finish first, then start poking around.
How to transfer data using iCloud
iCloud is the backup-and-restore path. It is the one to use when you cannot rely on a direct phone-to-phone handoff, or when the old device is already out of reach.
The catch is that iCloud depends on a recent backup and enough iCloud storage. If both are in place, the process is straightforward.
Back up your old iPhone to iCloud
On the old iPhone, make a fresh backup in iCloud before setting up the new one. A strong Wi‑Fi connection matters here, because backups can take a while if your phone has lots of photos or app data.
If you last backed up weeks ago, do a new one now. Restoring from an old backup is like moving into a new apartment with last month’s mail still in the box.
Restore the backup on your new iPhone
During setup on the new iPhone, choose the option to restore from an iCloud backup. Sign in with the same Apple ID, pick the most recent backup, and let the phone pull your data down.
The main settings and account information usually arrive first. Apps, photos, and other content often keep downloading afterward, so do not panic if the phone looks half-finished for a bit.
When iCloud is the better choice
iCloud is the better route when your old iPhone is missing, damaged, or already reset. It also works well if you want a hands-off setup and do not want to deal with cables or Finder.
Just remember that storage space matters. If your iCloud backup is incomplete or your plan is too small, the restore can stall before it really gets going.
How to transfer data with a computer: finder or iTunes
A computer backup gives you a local copy of your iPhone data and a reliable restore path. On a newer Mac, you use Finder. On Windows, or older Macs, you use iTunes.
This option is handy when Wi‑Fi is unreliable or your iCloud storage is tight. It also gives you more control, which some people appreciate more than the convenience of cloud backup.
Back up the old iPhone to your computer
Connect the old iPhone to your computer and create a backup. If possible, choose an encrypted backup, because that preserves saved passwords, Health data, and some other private details that plain backups do not always include.
Encrypted sounds technical, but it mostly means the backup keeps more of your personal stuff intact. Worth doing.
Restore that backup to the new iPhone
Once the backup is finished, connect the new iPhone and restore from that backup file. Leave the phone plugged in and let the restore complete before opening apps and signing into everything manually.
Computer restores are often steady and predictable. That is the appeal, really. Nothing fancy, just a copy on your own machine that you can trust.
When a computer backup helps most
This method shines when your internet connection is weak, your iCloud storage is full, or you want a local backup you can keep around. It is also a solid fallback if Quick Start refuses to cooperate.
If you are the kind of person who likes keeping a spare key in a drawer, this is that kind of transfer.
What to do after the transfer
Once the data lands on the new iPhone, spend a few minutes checking the details. The phone may look ready, but some apps still need a little nudging before everything feels normal.
Sign back into important apps
Banks, work apps, email, and streaming services often ask you to sign in again. That is not a glitch, just extra security doing its job.
Expect a few verification codes and maybe a push notification or two. Annoying? Yes. Surprising? Not really.
Check photos, messages, and contacts
Open Photos, Messages, and Contacts first. These are the easiest places to spot a problem early, especially if something did not finish syncing or restoring.
If an album is missing or a message thread looks incomplete, catch it now while the old phone is still nearby. That makes troubleshooting much easier.
Reconnect accessories and settings
Pair AirPods again, reconnect Wi‑Fi, and check Face ID, notifications, and display settings. Small things, but they make the phone feel like yours instead of just another device with your apps on it.
It is the digital version of setting your chair height and coffee mug exactly where you want them.
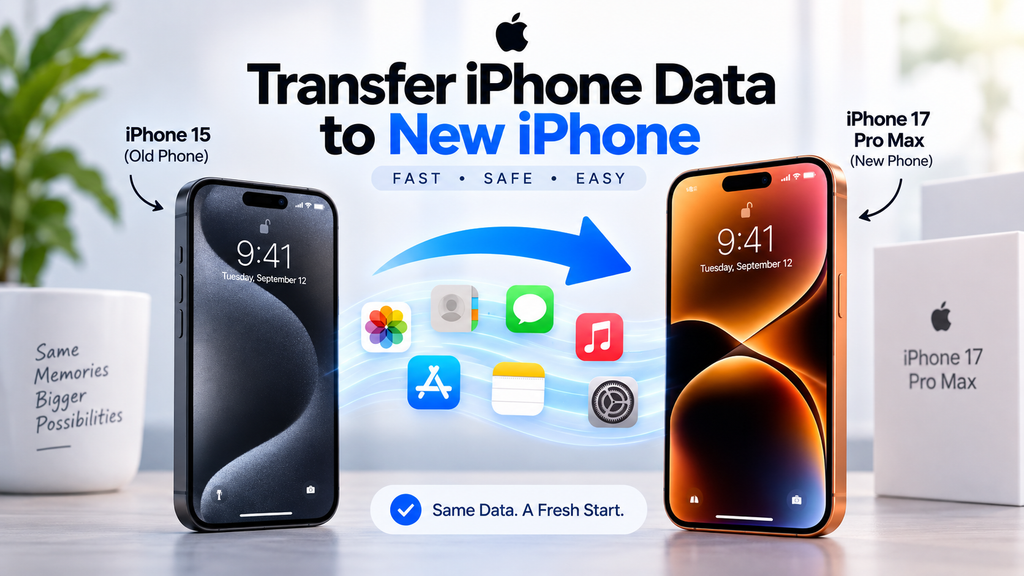
Learn how to Transfer iPhone Data to New iPhone safely and easily. Follow these simple methods to move photos, apps, contacts, and other data
Common problems and easy fixes
Most transfer issues come from a few familiar places. The good news is that they are usually fixable without starting from scratch.
The transfer seems stuck
If it looks frozen, keep both phones plugged in and close together. Large transfers can sit for a while without showing much movement, especially over Wi‑Fi.
Give it time before assuming something failed. A lot of “stuck” transfers are just slow transfers wearing a fake mustache.
Not enough storage on the new iPhone
If the new phone has less storage than the old one, trim the biggest files first. Videos, downloaded shows, and offline media are usually the easiest things to cut.
You may need to delete content, then try the transfer again. The backup can only fit where the storage allows.
Missing photos, messages, or apps
Missing items usually point to an incomplete backup, a syncing delay, or a different Apple ID sign-in. Check which account is logged in first, because that is often the real issue.
Photos can also keep syncing in the background for a while. Give them time, then check again before assuming they are gone.
You Don’t have the old iPhone
If the old phone is gone or wiped, use the newest iCloud or computer backup you have. That backup becomes the main path back into your data.
Without a backup, there is not much to transfer. That is the hard truth, and it is why regular backups matter more than people think.
Which transfer method should you use?
Quick Start is the best choice for most people because it is fast, direct, and easy to follow when both phones are available. iCloud is the better fallback when the old iPhone is unavailable, and a computer backup makes sense when you want a local copy or a wired restore.
So use the method that matches what is in your hands right now. If both phones are sitting on the table, start with Quick Start and let the new iPhone do the heavy lifting.
I hope you liked this article, if you feel like its helpful please share with your firends and family. MarketGuidely is here to help you anytime
Author

marketguidely@gmail.com
Related Posts

The Best Wireless Earbuds Under ₹2000
- 0
- 1,839 word
Wireless Earbuds Under ₹2000 Spending ₹2000 on wireless earbuds in India used to mean accepting tinny sound, flimsy plastic, and a battery...
Read out all
Things to Check Before Buying a Laptop: 10 Smart Tips for a Better Buy in 2026
- 0
- 3,077 words
Buying a used laptop can feel like a shortcut until you realize the “deal” comes with a dying battery, a warped hinge,...
Read out all
Things to Check Before Buying a Gaming PC: 10 Smart Tips for a Better Buy in 2026
- 0
- 3,019 words
Buying a gaming PC can feel simple until you start comparing specs and realize half the numbers only matter in the right...
Read out all
Best Phone Under ₹15000 in 2026
- 0
- 5,593 words
A phone under ₹15000 in 2026 is not a compromise purchase anymore, but it is still a trade-off game. The best phone...
Read out all
Best Gaming PC Under ₹70000: A Clear Buying Guide
- 0
- 2,469 words
A best gaming PC under ₹70000 is not about chasing the biggest number on a parts box. It is about building a...
Read out all
iPhone 18 Release Date: Exciting News
- 0
- 1,618 word
The iPhone 18 release date is one of those things that sounds simple until you try to pin it down. There’s the...
Read out all